Create a Virtual Machine in Google Cloud Platform (Part 1)
Introduction
Google Cloud Platform (GCP) is a cloud computing platform offered by Google containing many services spanning infrastructure-as-a-service (IaaS), platform-as-a-service (PaaS) and software-as-a-service (SaaS). This enabled workloads of varying complexity to run on GCP, from static websites to sophisticated applications using managed databases and serverless technology.
In this tutorial, you will execute the steps required to create a Linux Virtual Machine (VM) in GCP, log in to that VM and install the Nginx web server on it, all using the Google Cloud Console.
Prequisites
- A Google account
- Access to the Google Cloud Console
Google Cloud Console
Project settings
- To get started, log in to the Google Cloud Console
- Click on the Select a project drop-down menu and click
NEW PROJECT - On the New Project screen, under Project name enter
vmdemoand under Location selectNo organization - Click on the Select a project drop-down menu, choose
vmdemoand click Open
Create a VM
- Click on the search field in the banner (look for the magnifying glass icon), type
Virtual Machinesand choose Instances - Compute Engine - On the VM instances page, click
Create - Enter the following details on the Create an instance page:
- Name:
instance1 - Region:
us-central1 (Iowa) - Zone:
us-central1-c -
Machine type: micro(1 shared vCPU.6 GB memory f1.micro) - Boot disk:
New 10 GB standard persistent disk- Image:
Debian GNU/Linux 9 (stretch)
- Image:
- Identity and API access:
- Service account:
Compute Engine default service account - Access scopes:
Allow default access
- Service account:
- Firewall: Select
Allow HTTP traffic - Skip all the other settings (use defaults for them)
- Name:
- Scroll to the bottom of the page and click
Create
Verify VM creation
- One the Compute Engine > VM instances page, verify that the VM that you created in the last section is present with a green check
- Click on the
SSHbutton for your VM (do not click the drop-down)
You should now be in a separate browser window with a Shell on your VM!
Nginx
With a Shell window open to your VM from the last section, enter the following in it:
Install Nginx package
sudo apt-get install nginx -yVerify Nginx listening on port 80
Nginx should now be installed, started and listening on port 80 of the VM. To verify the this, execute the following in the shell window:
netstat -plunt | grep 80That should produce output similar to this:
tcp        0      0 0.0.0.0:80              0.0.0.0:*               LISTEN      -
tcp6       0      0 :::80                   :::*                    LISTEN      -
Visit welcome page locally
Verify that you can hit the Nginx Welcome Page locally on the VM by executing the following in the shell window:
curl localhostThat should produce output similar to this:
<!DOCTYPE html>
<html>
<head>
<title>Welcome to nginx!</title>
<style>
    body {
        width: 35em;
        margin: 0 auto;
        font-family: Tahoma, Verdana, Arial, sans-serif;
    }
</style>
</head>
<body>
<h1>Welcome to nginx!</h1>
<p>If you see this page, the nginx web server is successfully installed and
working. Further configuration is required.</p>
<p>For online documentation and support please refer to
<a href="http://nginx.org/">nginx.org</a>.<br/>
Commercial support is available at
<a href="http://nginx.com/">nginx.com</a>.</p>
<p><em>Thank you for using nginx.</em></p>
</body>
</html>
Visit welcome page externally
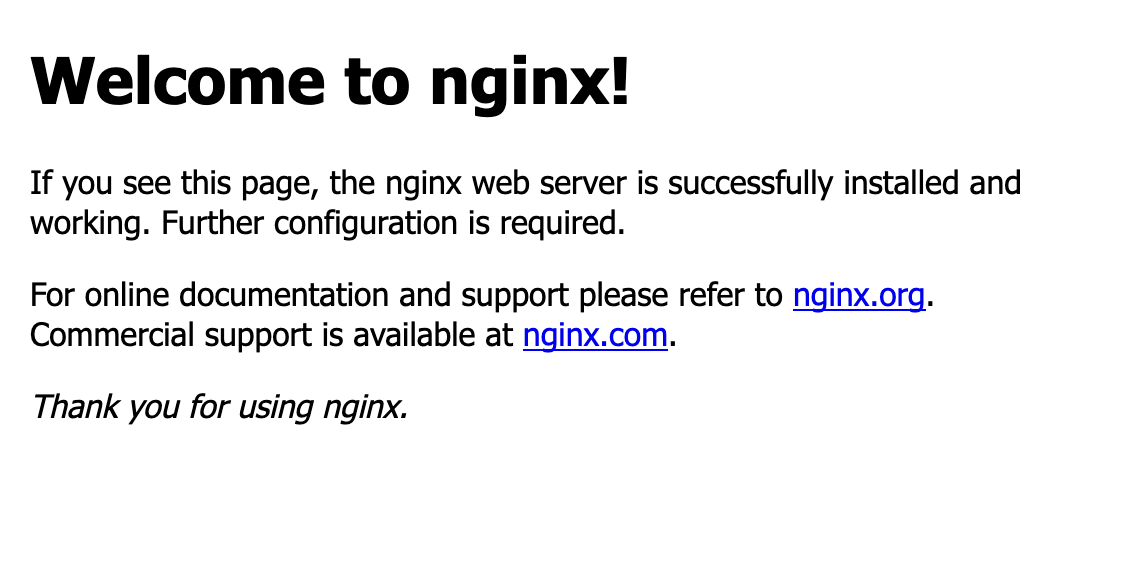
Back on the VM instances page, find your VM and click on the External IP of your VM. This should take you to another browser session with the following content in your broswer window:

Delete the VM
You have successfully created a VM in GCP and installed Nginx on it. This completes the exercise. You may now delete the VM as follows:
- Navigate back to the VM instances page (Compute Engine > Instances)
- Locate the row corresponding to your VM
- Click on the three vertical dots at the end of the row
- Click
Deletefrom the options provided - Confirm the deletion by clicking on the
DELETEbutton in the confirmation window
Conclusion
Congratulations! In this tutorial, you created a Linux VM in GCP and installed Nginx on it. You should now be familiar with the Google Cloud Console and where to find Projects and Compute Engine Instances.
Don’t stop here, move on to the next part of this series, where we do the same exercise as above via the gcloud tool in the Google Cloud SDK!